Tanking Omega Planetes: Monster Hunter Wilds' Ultimate Great Sword Build
Conquer Omega Planetes in Monster Hunter Wilds with powerful Great Sword builds, strategic armor, and essential skills for cosmic-level survival.
Preparing to face Omega Planetes in Monster Hunter Wilds feels like trying to arm-wrestle a volcanic comet – the sheer cosmic absurdity of this collaboration boss demands gear that laughs at conventional survival tactics. Our hunter still shivers recalling their first encounter with that soul-crushing Delta Attack, where dodging felt as effective as hiding behind wet cardboard during a meteor shower. Yet through glorious trial-and-error (mostly error), a particular Great Sword build emerged as the golden ticket to dancing with this celestial menace without becoming space dust. 😂
🗡️ The Elemental Sword Tango
Omega's cruel party trick? Summoning that eight-legged nightmare called the Nerscylla Clone mid-battle. Surviving this requires weapon versatility that'd make a Swiss Army knife jealous:
-
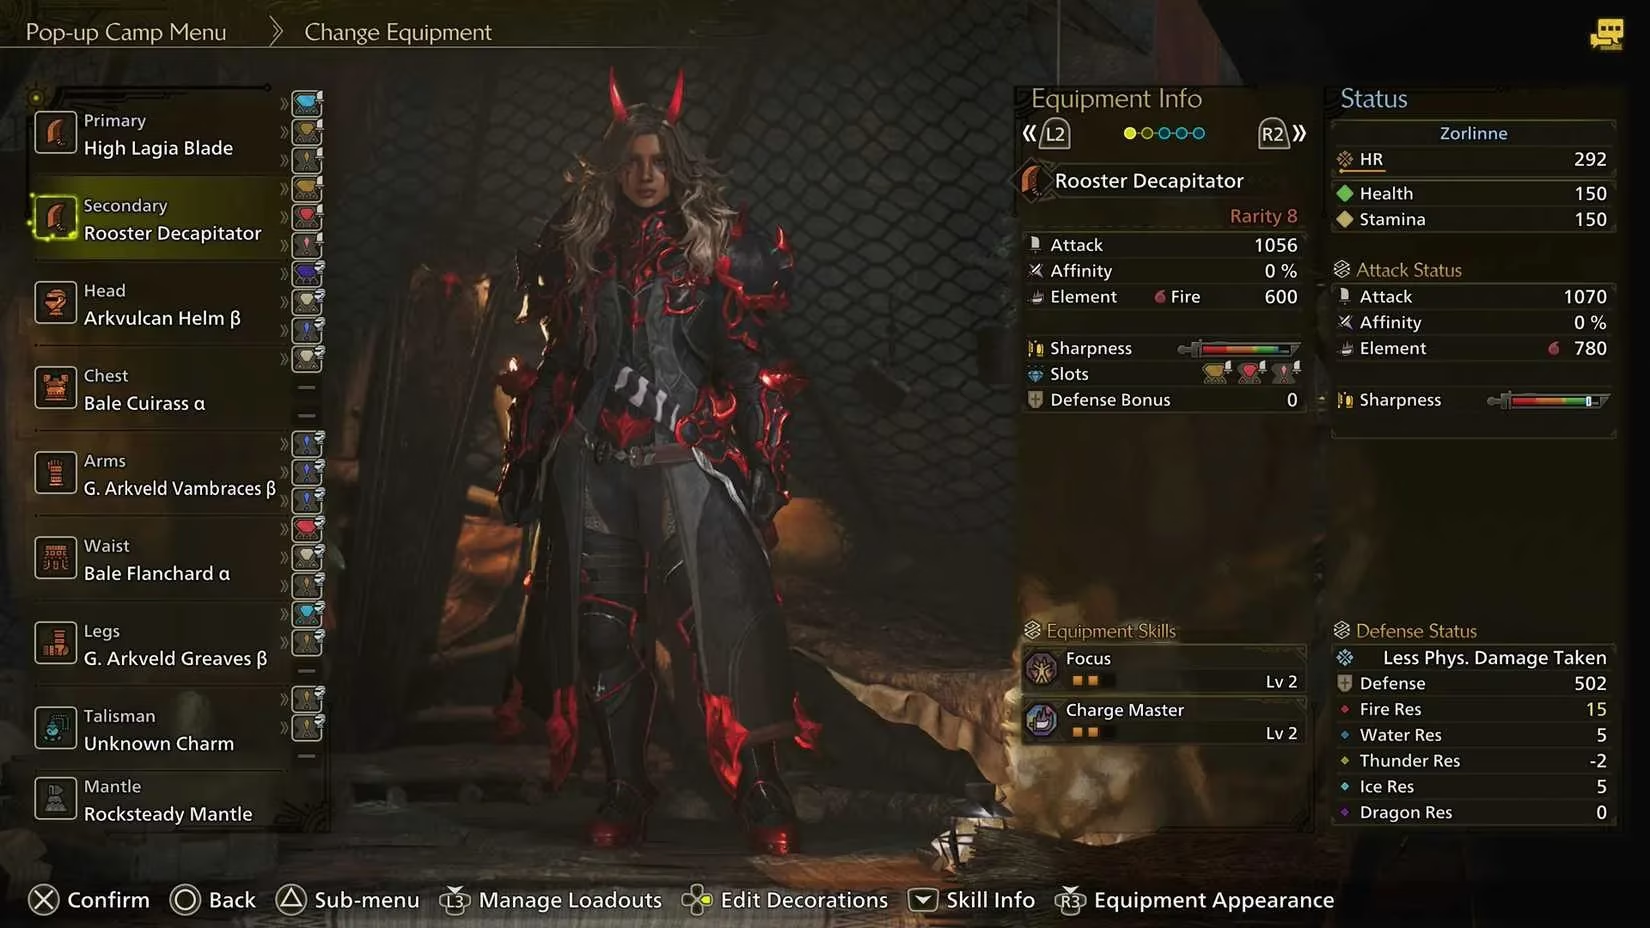
Primary Weapon: Thunder-element Great Sword or paralyze-inflicting blade (because shocking cosmic entities never gets old)
-
Clone Obliterator: Fire-element Great Sword (watching that spider-thing sizzle brings primal joy)
-
Alternative: Artian's Varianza Great Sword with customizable paralysis/thunder/fire options
Why this symphony of steel? Both enemies crumple beautifully to paralysis, letting hunters deliver those sweet, slow-motion charged slashes. Prioritize jewel slots for:
| Skill Priority | Effect | Combat Impact |
|---|---|---|
| Max Focus ⚡ | Faster charge attacks | Reaching True Charged Slash before Omega sneezes |
| Shield Jewel 🛡️ | Enables blocking | Surviving the infamous laser doom-beam |
That Shield Jewel isn't optional – it's the difference between heroic poses and becoming an orbital stain. Parrying Omega's Phase 2 laser with a Great Sword feels like stopping a freight train with your pinky... triumphantly!
🛡️ Dressing for Apocalyptic Success
Armor selection depends on whether you're dipping toes into Rank 8 or diving headfirst into Savage difficulty. For beginners trembling before Omega's magnificence:
-
Arkveld B Set: Like wearing a fortress (if fortresses had surprisingly good fire resistance)
-
Regios B Set: For hunters who prefer mobility without becoming instant barbecue
But Savage difficulty? That's where the collaboration-exclusive Bale Armor shines. Crafted from Omega's own Rank 8 remains, this set makes you feel like you've skinned a constellation. The 4-piece bonus alone justifies the grind, allowing mix-and-match leg pieces for customization. Sliding into Bale gear gives such confidence that you'll catch yourself attempting unnecessarily stylish dodges.
✨ Talismans & The Art of Not Dying
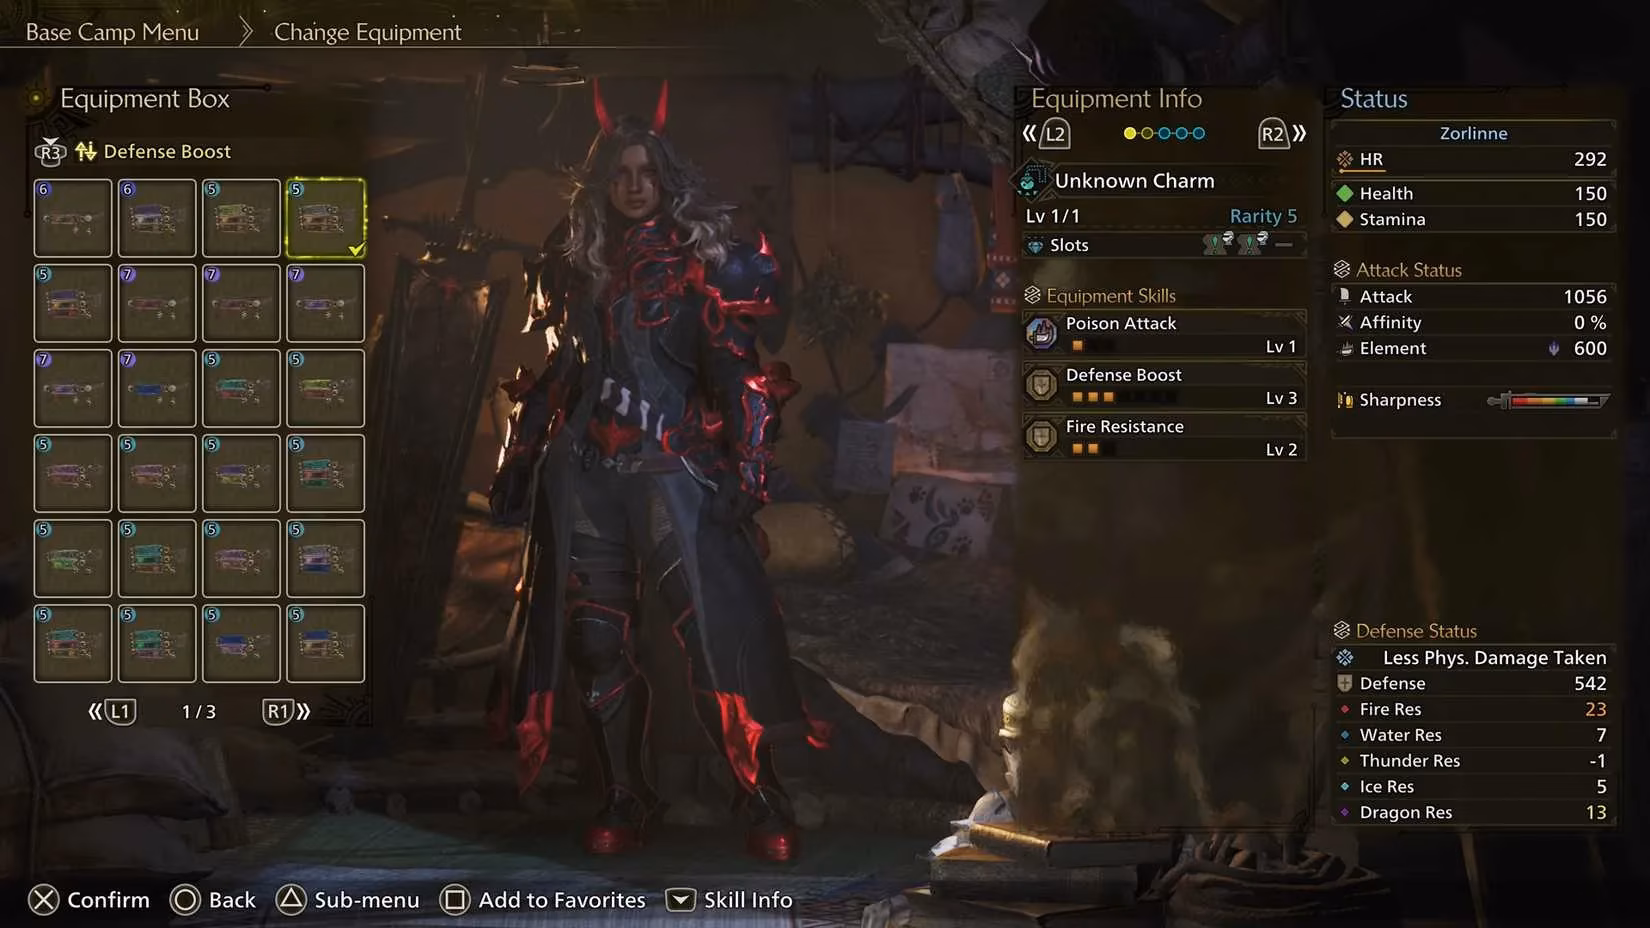
Decoration strategy separates the triumphant from the tragically disintegrated. Both difficulty levels demand:
-
Max Defense Boost (obviously)
-
Divine Protection (because sometimes the universe takes pity)
Upgrade everything to level 10 for Savage – anything less is cosmic suicide. The real treasure hunt? Farming those elusive Glowing Stones from Rank 9 hunts for talismans like:
-
Defense Boost Lv3
-
Fire Resistance Lv2
Finding that perfect talisman triggers euphoria comparable to landing a last-second mount. That satisfying clink when socketing decorations almost makes Omega's screams sound musical... almost.
🌑 Embracing The Blackest Night
This build's crown jewel is unlocking the Great Sword's upgraded charged attacks, which gift access to The Blackest Night – arguably gaming's most dramatic panic button. Activating it summons a temporary void shield enabling reckless aggression. When shattered (and oh, it will shatter):
-
Health drops to 1 (cue frantic sweating)
-
Full recovery health activates (cue manic relief)
-
Healing-on-hit and defense buffs trigger (cue villainous laughter)
Pair this high-wire act with consumables creating the ultimate survival cocktail:
-
Immunizer (accelerates health regen) 🧪
-
Adamant Seed (turns skin to metaphorical diamond) 💎
-
Might Seed (because why not hit harder?) 💥
The resulting gameplay resembles a berserk ballet – charging headfirst into supernovas just to counterattack while healing. It’s terrifying, glorious, and oddly poetic watching health bars yo-yo between near-death and full vitality. This synergy works so well, many hunters adopt it permanently, forever chasing that addictive brink-of-destruction adrenaline rush.
Ultimately, this build transforms Omega fights from terror into theater – where every blocked laser feels like a standing ovation, and each shattered Blackest Night becomes an encore performance. Does it require near-masochistic confidence? Absolutely. But watching cosmic entities stagger under your charged blade... that's a high no potion can replicate. 🤘
Comments