How to Obtain the Rare Wyvernsprout in Monster Hunter Wilds
Earn the rare Wyvernsprout in Monster Hunter Wilds, a special item growing from rotting carcasses, for unique trades.
Since its launch over a year ago, Monster Hunter Wilds has continued to captivate hunters with its sprawling biomes and deep crafting mechanics. Among the many curiosities scattered across the Forbidden Lands, the Wyvernsprout remains one of the more peculiar items to acquire. This rare special item doesn’t drop from a hunt in the traditional sense—it grows from the rotting remains of small monsters, requiring both patience and a keen eye. Whether you’re aiming to complete the Explorer of the Eastland achievement or seeking unique trade goods for Sekka, understanding the precise conditions for a Wyvernsprout to appear is essential.
What Is a Wyvernsprout and Why Hunt It?
A Wyvernsprout is categorized as a special item that cannot be carved directly from a fresh kill. Instead, it spawns as a result of natural decomposition—a small, stalk-like growth that emerges from the head of a rotting monster corpse. Its primary use is as a trading token. Vendors like Sekka place high value on the sprout, occasionally offering rare materials or consumables in exchange. For completionists, harvesting a Wyvernsprout for the first time also ticks off one requirement for the “Explorer of the Eastland” achievement, making it a must-do for anyone chasing 100% game completion. While the item can be sold for a modest amount of Zenny, its real worth lies in unlocking barter-exclusive goods that can give you an edge on your next expedition.
Step-by-Step: Triggering the Decomposition Process
1. Choose Your Prey Wisely
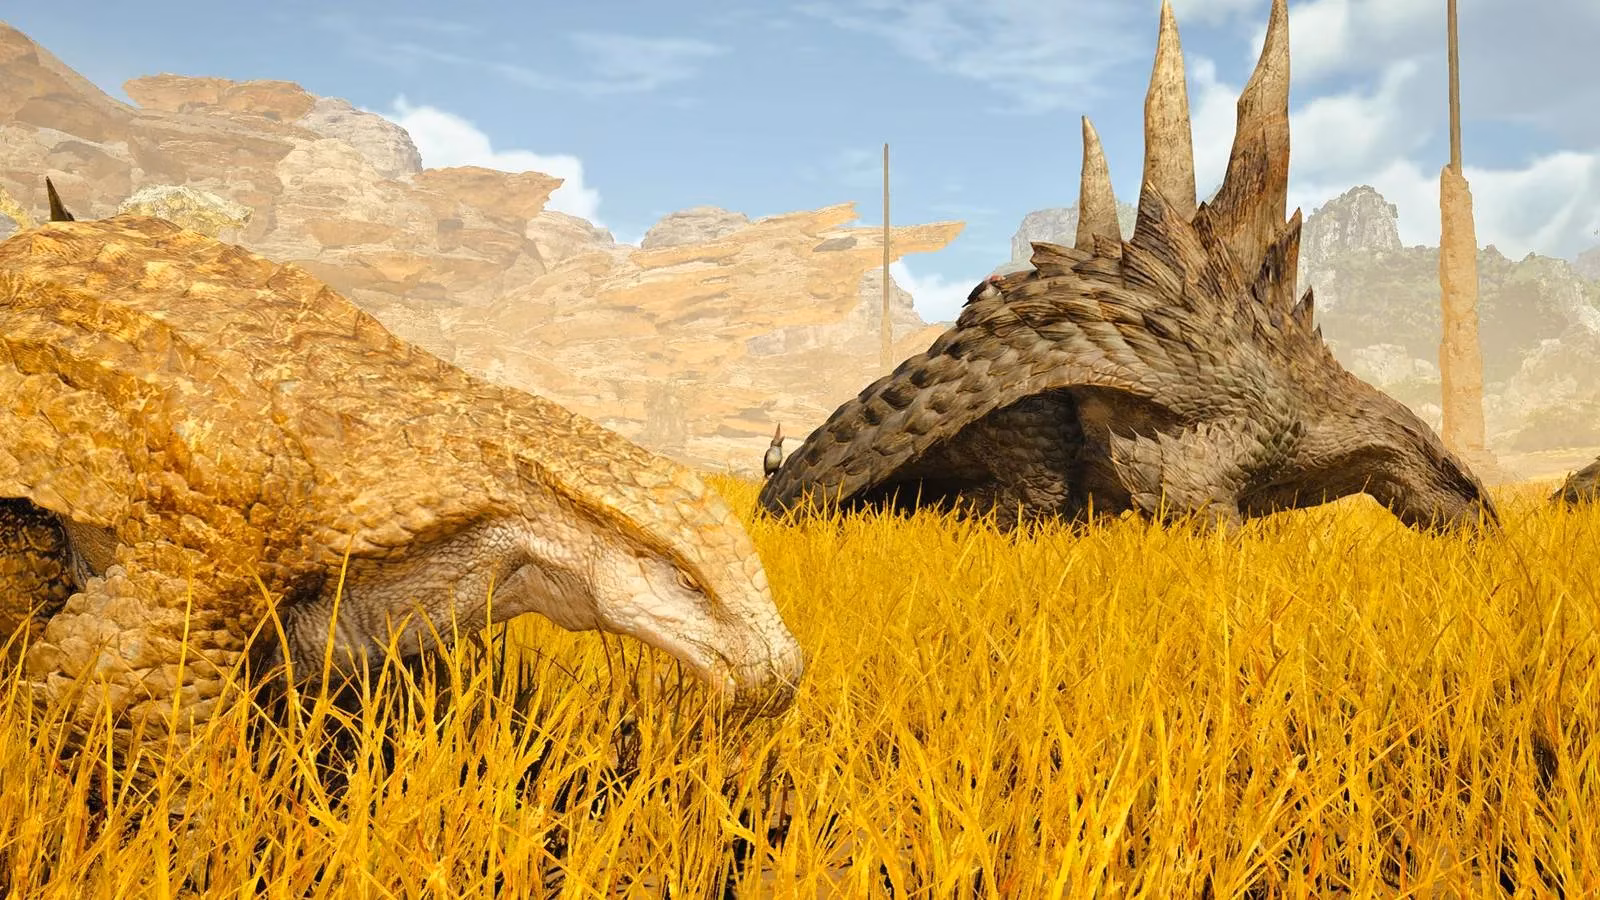
Not all monsters are created equal when it comes to efficient Wyvernsprout farming. Small monsters are the only candidates, and the ideal target is the Ceratonoth. These herbivores travel in large herds throughout the Windward Plains, particularly around Zone 8. Because the spawn rate of a Wyvernsprout is somewhat low, tackling a herd gives you multiple corpses to work with simultaneously, dramatically improving your odds without needing to chase down isolated creatures.
2. Kill but Do Not Carve
After felling a Ceratonoth—or any other small monster like a Kestodon—the most common mistake hunters make is carving the body immediately. Doing this resets the carcass and completely removes the chance of a Wyvernsprout spawning. Instead, leave the corpse untouched and let the clock tick.
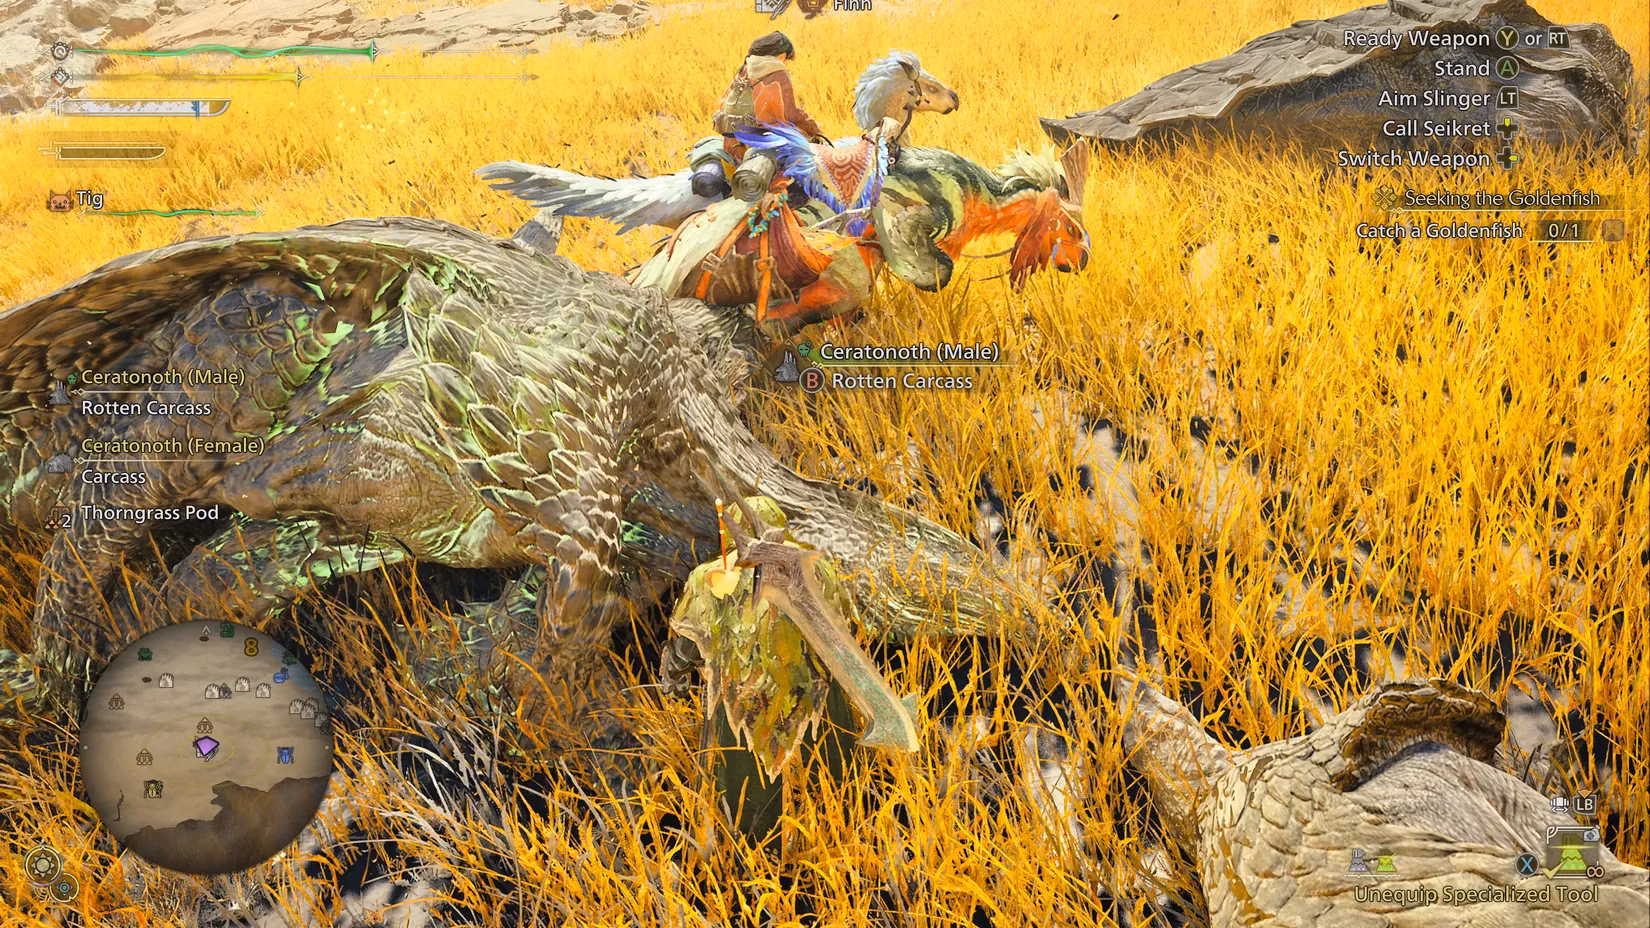
3. Wait for the Green Skull
Patience is the real weapon here. Approximately 5 to 6 minutes of in-game time must pass for the decomposition cycle to complete. You can monitor the process by hovering over the carcass. When the body has truly rotted, its displayed name will change to something like “Rotten Carcass,” and a small green skull icon will appear next to the interact prompt. Visually, the corpse develops a fuzzy, mold-like coating and the head area starts to swell, indicating that the Wyvernsprout is about to bloom.
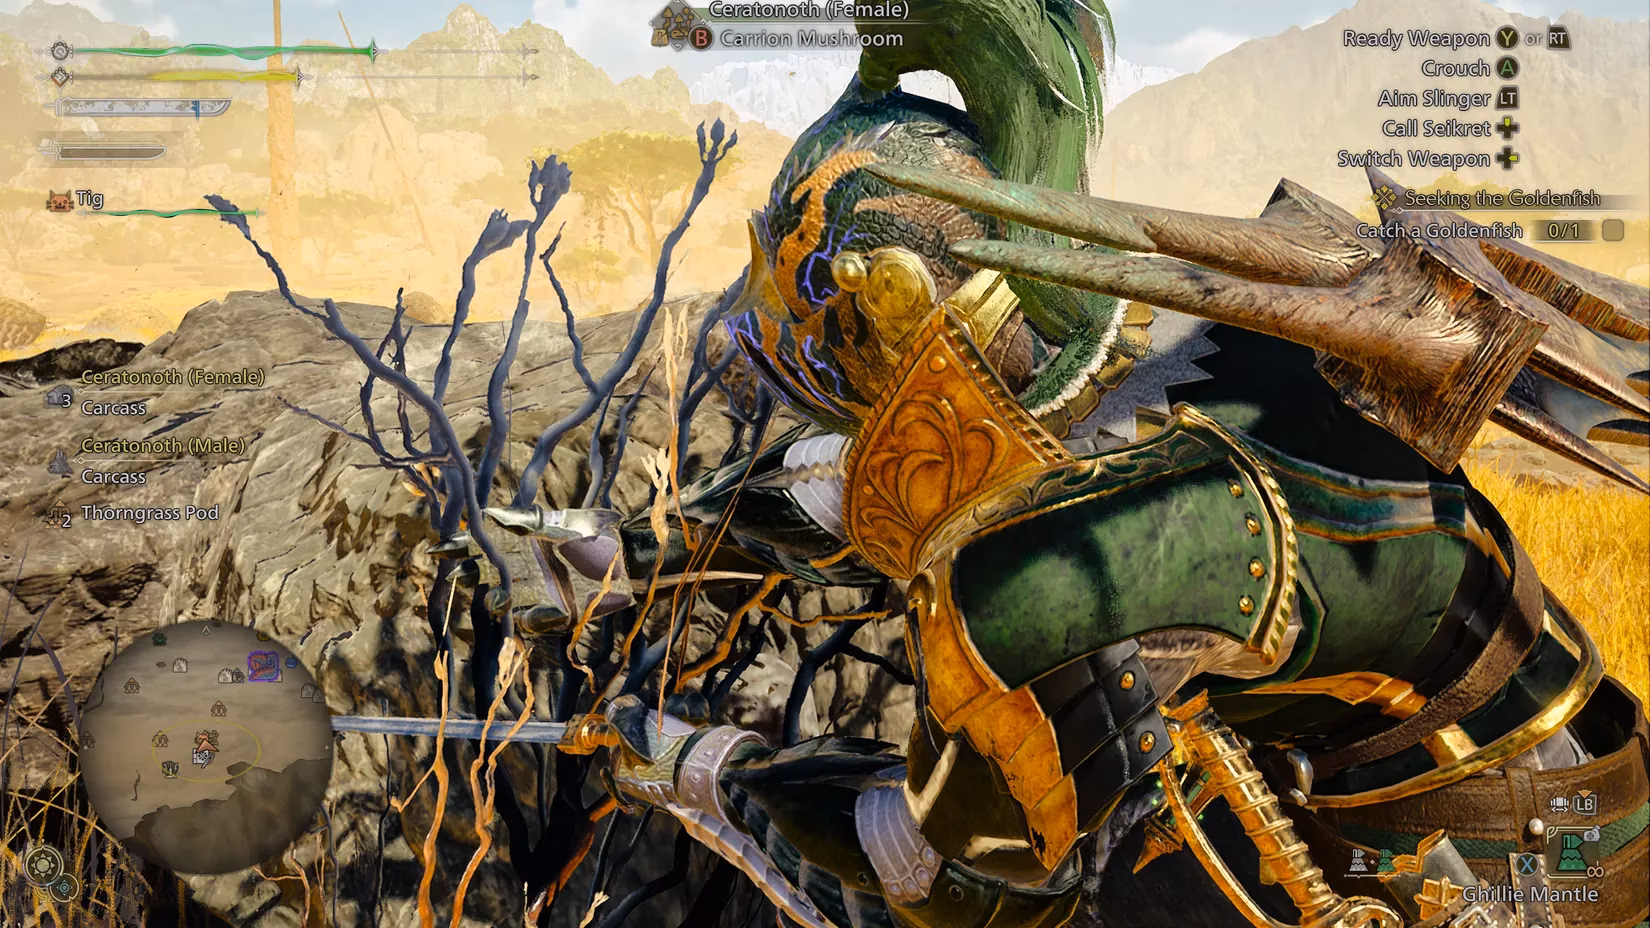
4. Harvest the Sprout
Once the carcass has fully rotted, a distinct stalk will sprout from the head region. Approach the corpse and interact with the sprout directly—not the body—to trigger a unique harvesting animation. The item will then be added to your inventory. If the sprout didn’t appear on a given carcass, simply repeat the process: kill a new Ceratonoth, wait, and check again. Over a few rotations, the odds will eventually work in your favor.
Optimizing Your Wyvernsprout Run
Farming Wyvernsprouts becomes much smoother with a few tricks. First, while waiting for the 5–6 minute timer, you can occupy yourself with gathering endemic life or mining outcrops nearby in the Windward Plains. This turns downtime into productive material runs. Second, if you’re in a squad, coordinate with teammates—one person can be the “kill leader” while others keep an eye on timers, ensuring you don’t accidentally carve too early. Another pro tip: rest at a camp to advance time if the rotting process feels sluggish, but be aware that this may despawn some corpses. Testing suggests manual waiting yields more consistent results.
Trading and Beyond
After securing a Wyvernsprout, head to Sekka’s trading menu to see what she’s offering in return. Her inventory rotates, but she frequently stocks armor spheres, monster part bundles, and occasionally rare decorations that are hard to find elsewhere. Since Wyvernsprouts can be farmed repeatedly, they become a renewable currency for stocking up on high-value items without burning through Zenny. The achievement tied to this item—“Explorer of the Eastland”—requires only one successful harvest, but veteran hunters often collect a handful extra to have on hand for a lucky trade day.
Common Pitfalls to Avoid
-
Carving prematurely: As stressed, this is the single biggest reason hunters never see a Wyvernsprout. Train yourself to glance at the interaction prompt before pressing any button.
-
Targeting the wrong monsters: Large monsters do not produce Wyvernsprouts; the decomposition mechanic is exclusive to small fauna.
-
Ignoring the green skull: If the skull doesn’t appear after 10 minutes, the corpse may have despawned. Kill a fresh monster and start again.
-
Leaving the area: Fast traveling or venturing too far away can unload the map segment, resetting corpse states. Stay within the local zone.
By integrating these steps into your routine hunts, the elusive Wyvernsprout transforms from a confusing mystery into a reliable resource. The time investment pays off whether you’re after a shiny new decoration or that final achievement notch. In the ever-evolving world of Monster Hunter Wilds, sometimes the rarest treasures are not won through battle—they are grown through patience.
Comments