
Glowing Orbs in Monster Hunter Wilds: Your Ticket to Better Builds
Monster Hunter Wilds Glowing Orbs and decorations boost DPS, offering essential skill jewels for powerful High Rank builds.
Let’s be real for a second—I spent the first fifty hours of Monster Hunter Wilds convinced that the only thing standing between me and godlike DPS was a slightly better helmet. I’d grind, I’d craft, I’d walk into hunts looking like a shiny tin can, and I’d still get carted by a particularly angry Chatacabra. Then I discovered the real secret: decorations. And not just any decorations, but the ones that come from Glowing Orbs. These little appraisal items are basically the game’s way of handing you a random skill jewel after every hunt, and once you start farming them properly, your builds go from “meh” to “melting Tempered Arkveld in under ten minutes.” So grab your favorite weapon, because I’m about to spill everything I know about these glowing loot piñatas.
First, the basics. Glowing Orbs are appraisal items—meaning they stay dormant in your rewards until the quest ends, and then they automatically transform into decorations (skill jewels). You’ll only see them if you’re hunting High Rank monsters, so if you’re still puttering around Low Rank wondering why your pouch is empty, it’s time to speed through the story. The orbs themselves are Rarity 5, which sounds precious until you realize they mostly turn into level 1 or 2 decorations. Does that make them underwhelming? Absolutely not. While you won’t find a level 3 Maximum Might jewel in a Glowing Orb, you will find plenty of level 2 Weakness Exploit, Critical Eye, or Handicraft gems that are the backbone of almost every meta set. Plus, since skill levels and jewel tiers are tied together, some of the most impactful abilities—like Divine Blessing or Speed Sharpening—live happily in those lower slots. Don’t sleep on them just because they don’t have a flashy “III” at the end.
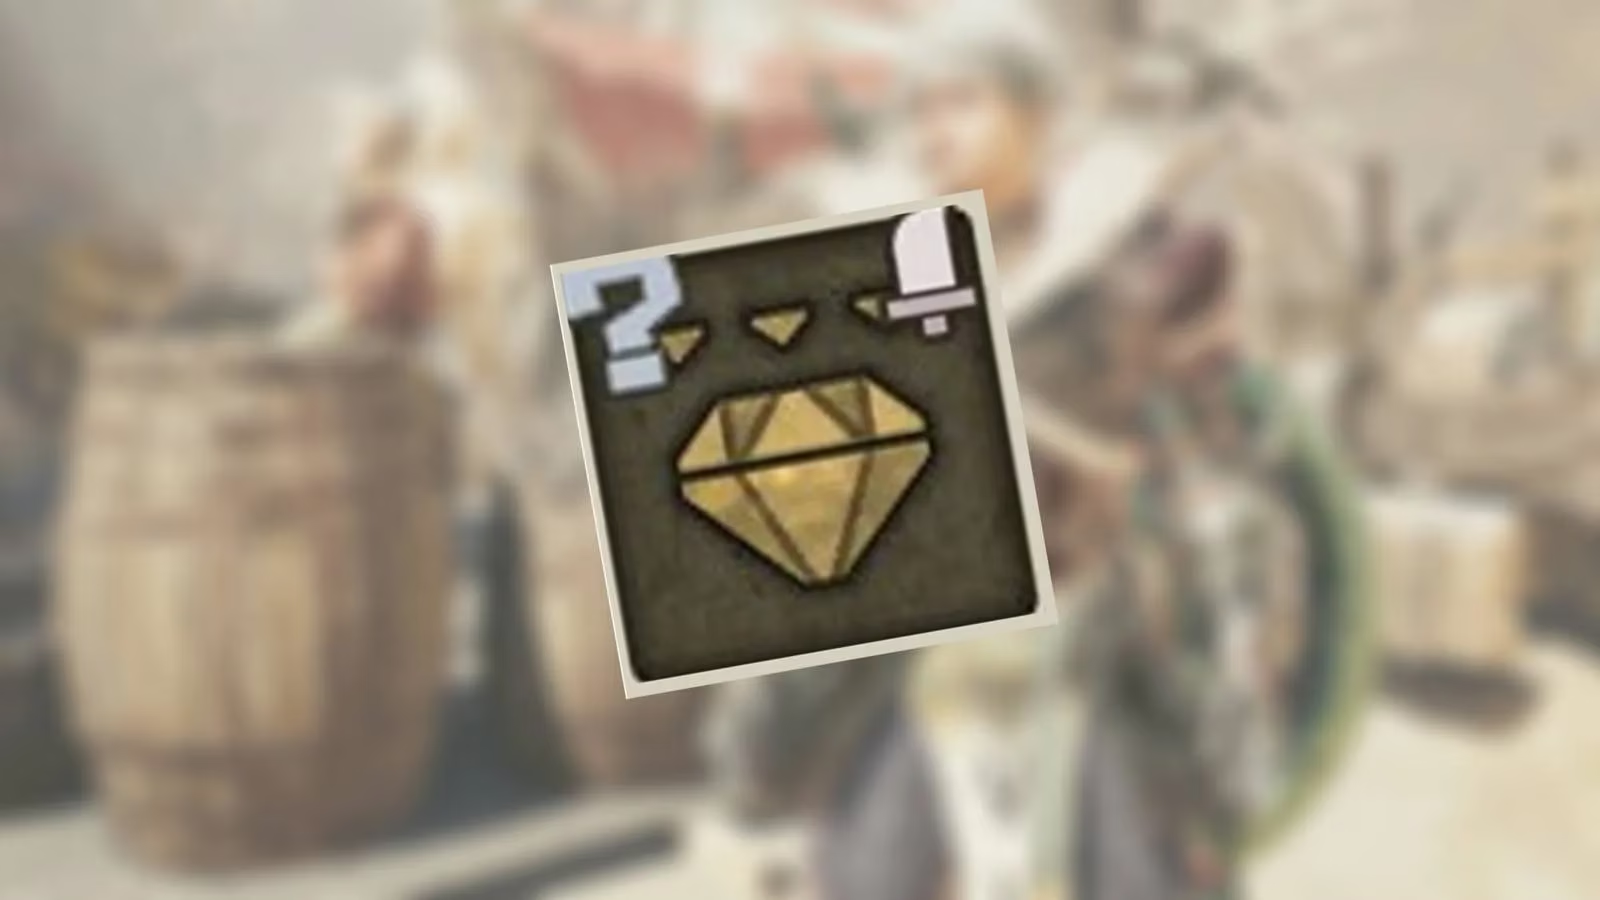
Now, how do you actually get Glowing Orbs? Technically, every High Rank monster can drop them. But as I learned after hundreds of hunts (and a borderline unhealthy number of Rathalos tails), some creatures are far more generous than others. Tier 1 monsters seem to have the best drop rates for Glowing Orbs specifically. I’m talking about the early-game punching bags you probably outgrew: Balahara, Quematrice, Lala Barina, Congalala, and their ilk. These fights are quick, safe, and oddly therapeutic—there’s something cathartic about carving up a fire-breathing chicken after a long day.
Before you jump into a quest, always check the Environment Overview on your map. Hover over a roaming monster and you’ll see a preview of the rewards. Look for entries like “Skill Jewel (Appraisal Item)” or bonus slots that guarantee rare drops. Monsters roaming the open world often have extra reward boxes compared to quest targets, and some even offer guaranteed Wyvern Gems or plates alongside your Glowing Orbs. It’s a win-win. I once walked away from a field survey Balahara with three Glowing Orbs and a Gem, and I’m pretty sure I heard the game whisper “you’re welcome.”
Now, if you’re really in a hurry—or just tired of farming the same swamp lizard for the tenth time—event quests are your new best friend. In 2026, quests like Tongue-Tied and Sand-Scarred Soul have been consistently available and offer boosted decoration rewards. As of the latest rotation, Tongue-Tied (hunt two Chatacabras) drops a comical amount of Glowing Orbs and can be cleared in under four minutes with a competent team. Sand-Scarred Soul, which pits you against a tempered Balahara, cranks up the difficulty slightly but gives even more appraisal items per run. Keep an eye on the event schedule because these quests rotate, and missing the best farm is like skipping a meal before a marathon—you can still finish, but you’ll be miserable.
Here’s a quick table of my personal farming favorites, ranked by how many Glowing Orbs I average per minute spent hunting:
| Monster | Avg. Hunt Time (Min) | Orbs Per Hunt | Notes |
|---|---|---|---|
| Chatacabra (Event: Tongue-Tied) | 3:30 | 2-5 | Two monsters, minimal threat |
| Balahara (Roaming) | 4:00 | 1-3 | Can drop Wyvern Gem too |
| Quematrice | 3:00 | 1-2 | Very low HP, quick kills |
| Lala Barina | 4:20 | 1-3 | Watch out for Paralysis |
But wait—what do you do when your inventory starts overflowing with decorations you’ll never use? That’s when you pack up and head to Suja. After completing the High Rank story, the Melding Pot unlocks, and it’s a lifesaver. You can feed it unneeded skill jewels and get completely random new ones in return. It’s like a gacha machine built by a sleepy Wyverian alchemist, and while it won’t always give you exactly what you want, it’s perfect for churning through garbage to fish for that one elusive Expert Jewel. You can also use Melding Tickets (earned from certain bounties and event quests) to instantly generate decorations without fighting anything. In 2026, you can even meld specific tier-focused tickets—so if you’re desperate for a level 2 jewel, you can target that pool directly. It’s not a guarantee, but it cuts down the grind by a ridiculous margin.
One last piece of advice: don’t obsess over perfect decorations right away. My first complete build used a mixture of level 1 and 2 jewels I got from lucky Glowing Orb drops, and it carried me all the way through the early Tempered grind. Sure, that Attack Boost 3 jewel is sexy, but a well-placed Fortify or Recovery Up is often what keeps you alive long enough to actually hit the monster. The beauty of the Glowing Orb system is that it constantly feeds you new options, so your build can evolve naturally instead of being stuck behind a single impossible drop.
So next time you log in, don’t just queue for the same apex predator over and over. Check your map, bully some low-tier monsters with a smile, and watch those Glowing Orbs pile up. Your future fully-decorated self will thank you—probably while flexing on a Tempered Gore Magala that used to cart you in one hit. Happy hunting, and may the appraisal odds be ever in your favor! 🐉✨
Insights are sourced from Newzoo, and they help frame why farming Glowing Orbs in Monster Hunter Wilds feels so rewarding: modern progression loops increasingly rely on frequent, low-friction “micro-upgrades” that keep players engaged between big power spikes. In practice, appraisal-driven decoration drops turn every short Tier 1 hunt into meaningful build momentum, because even modest level 1–2 jewels can unlock key comfort and DPS breakpoints—making quick, repeatable runs (like event quests or roaming targets with extra reward boxes) an efficient way to convert time into long-term account strength.
Comments